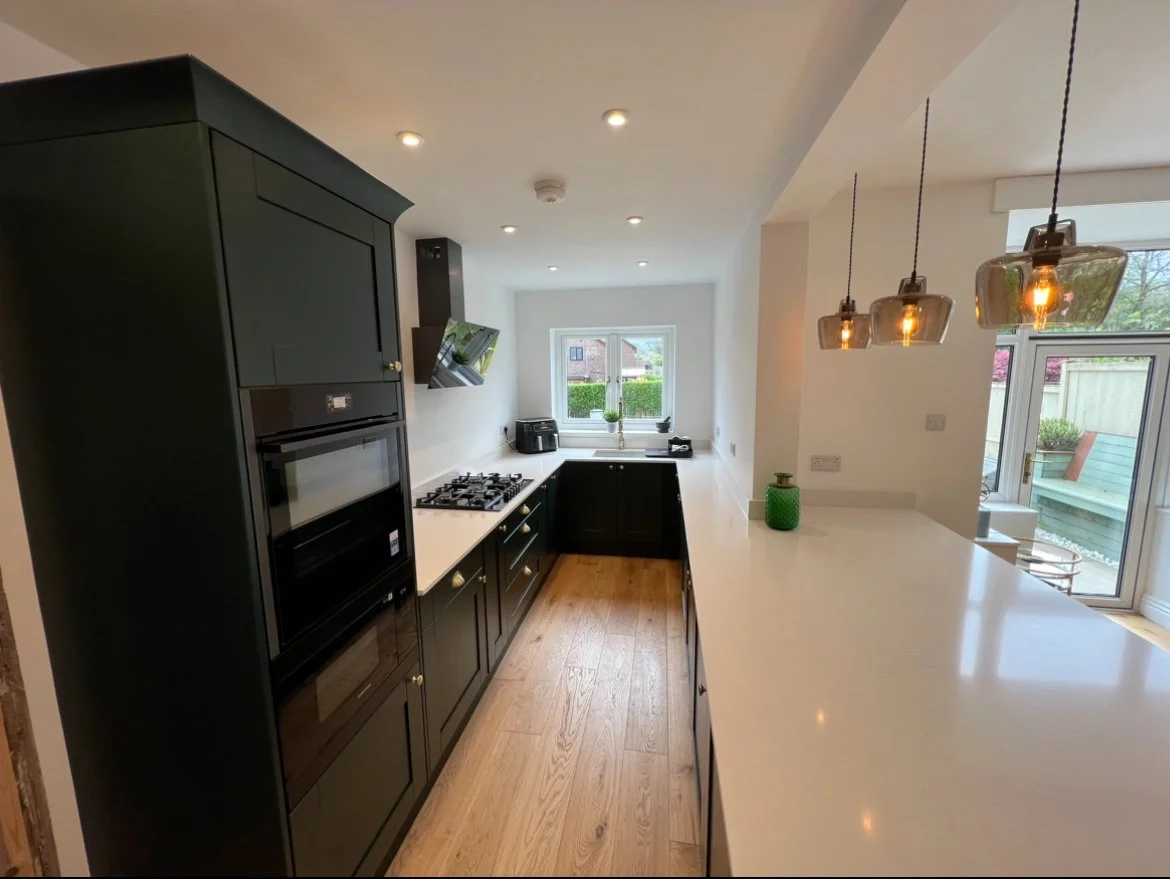
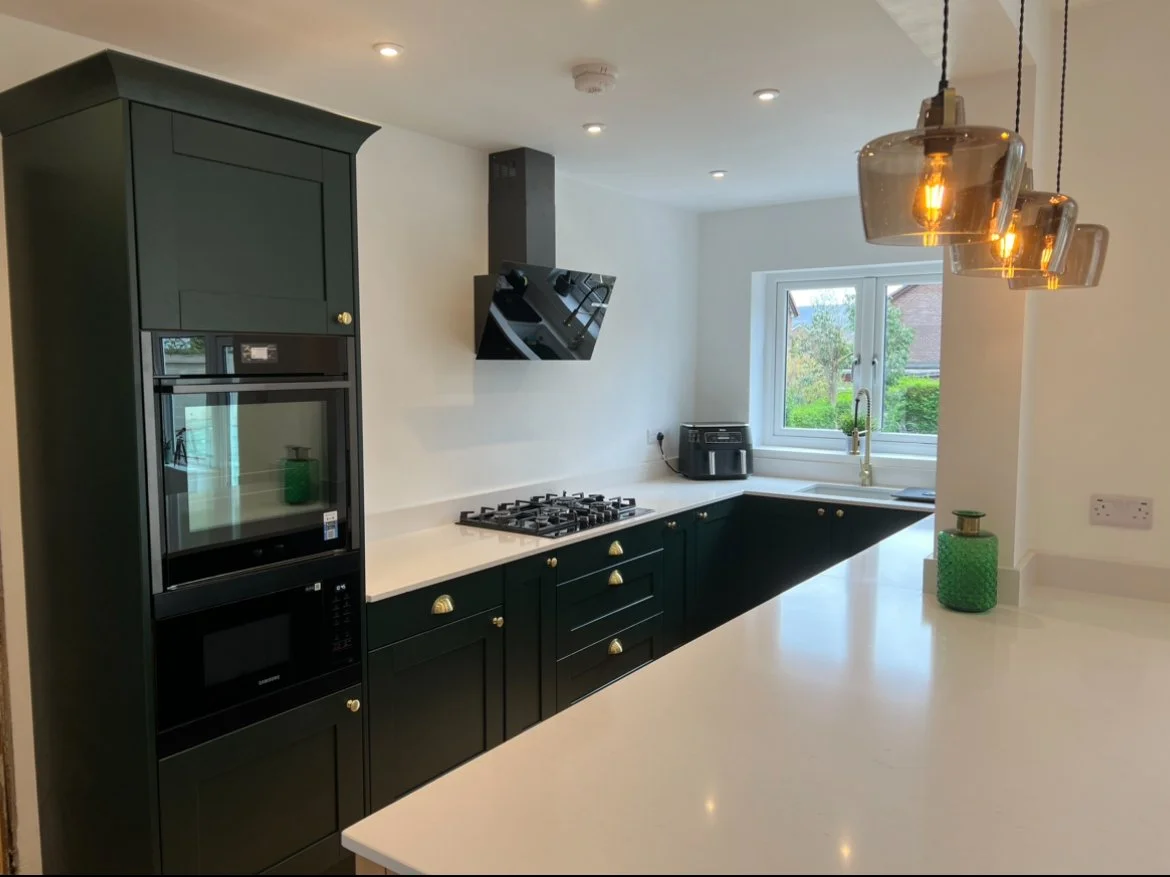
Kitchen Refurbishment in Glossop
Project Details
After being recommended by the main builder on the project, Mrs Howbook-Archer booked a home survey via our website. During the home survey, we discussed ideas and wishlists such as our ranges, handles, sinks, taps and worktops. We then agreed on a proposed layout and then discussed the budget.
Location: Glossop, Derbyshire
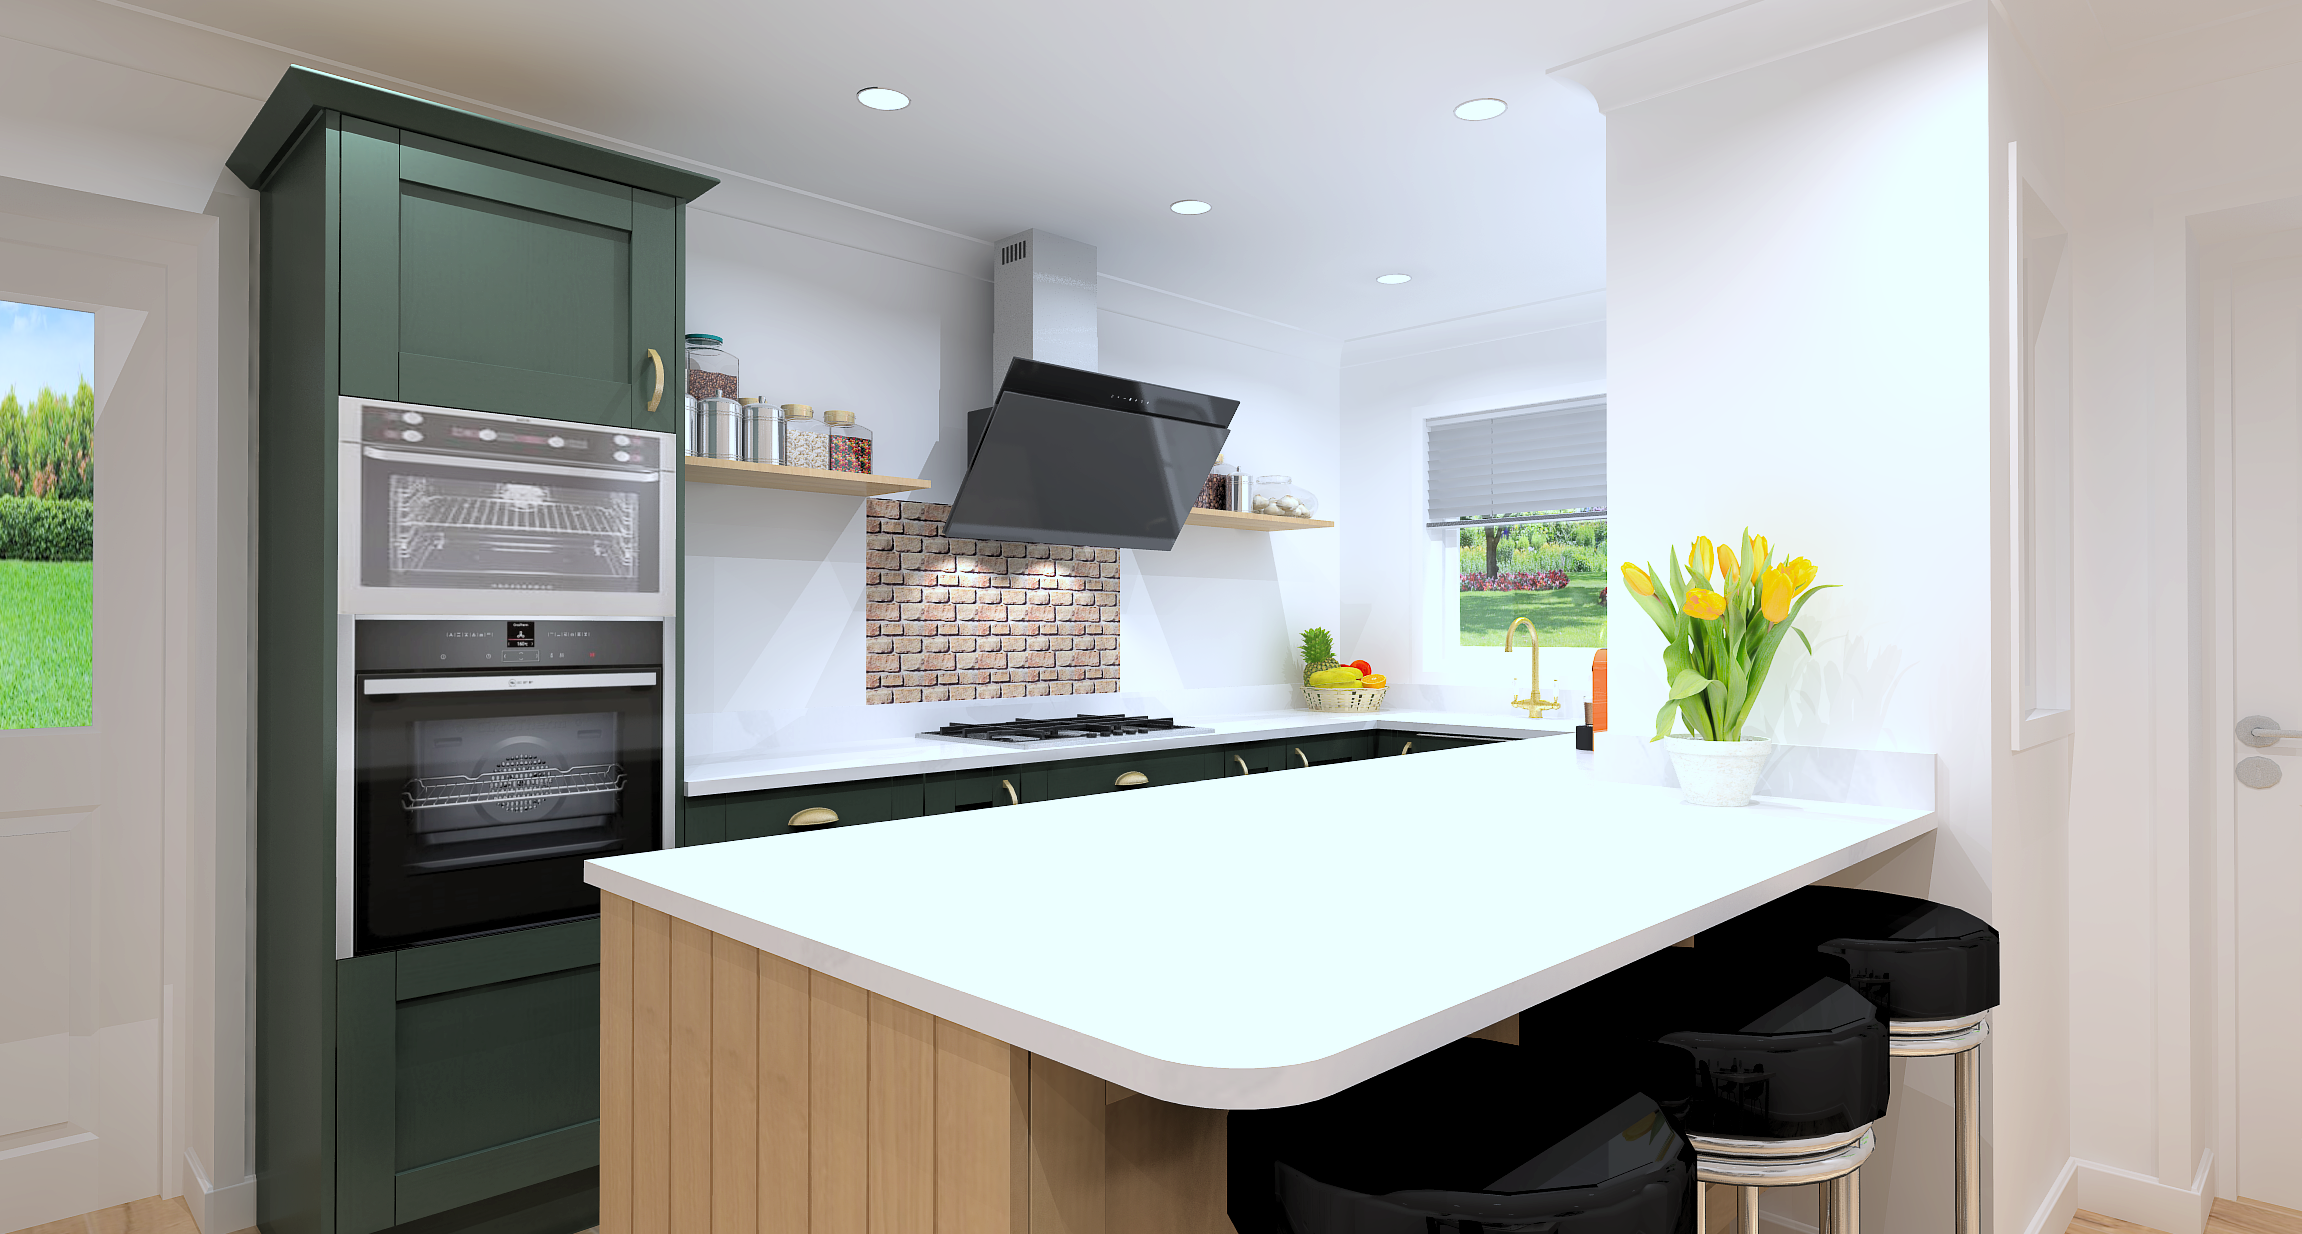
Kitchen Range: Caldaro Fir Green
Range Spec: 20mm Painted Timber
Worktop: Miami Vena Quartz
Total Cost: £14,219.75
Project Duration: 2 weeks
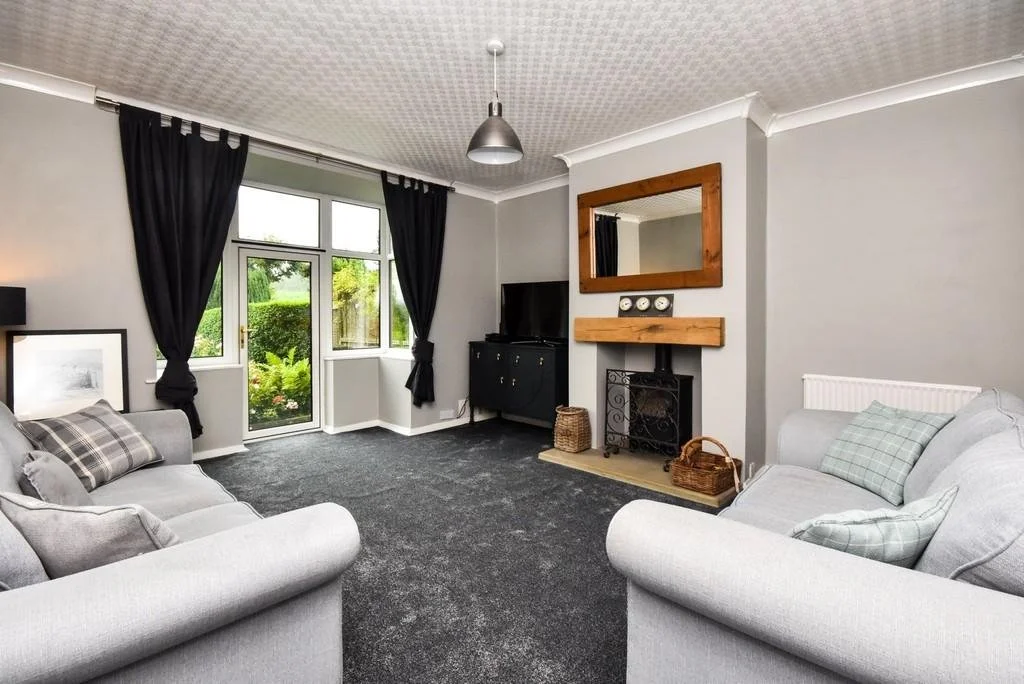
Below you can view what Mrs Howbrook-Archer's kitchen looked like before we started the refurbishment
Following the home survey and using all of the information gathered, our design team started to work on the floor plan and 3D images ready to present via our video quotation presentation. During the video presentation which is sent to all our potential customers, we discussed the initial designs and services that would be required to complete the new kitchen refurbishment, along with the associated costs.
Mrs Howbrook-Archer was pleased with our initial designs and quotation, and then booked a design review meeting, where we were able to go over the designs and plan. We also viewed some door samples along with the quartz worktops samples. During the design review meetings, we are also able to discuss any changes that were required, the estimated time frame for the works to be completed and payment options.
Following a few tweaks to the initial designs, we sent over the updated 3D images along with our proposal. As with all of our full refurbishments, we require the total cost of the kitchen furniture and quartz worktops in advance, along with a 40% deposit of the labour part of the quotation to book an agreed start date. The remaining balance is then due once the sign-off has been completed at the end of the project.
Below you can view the completed floor plan and 3D images
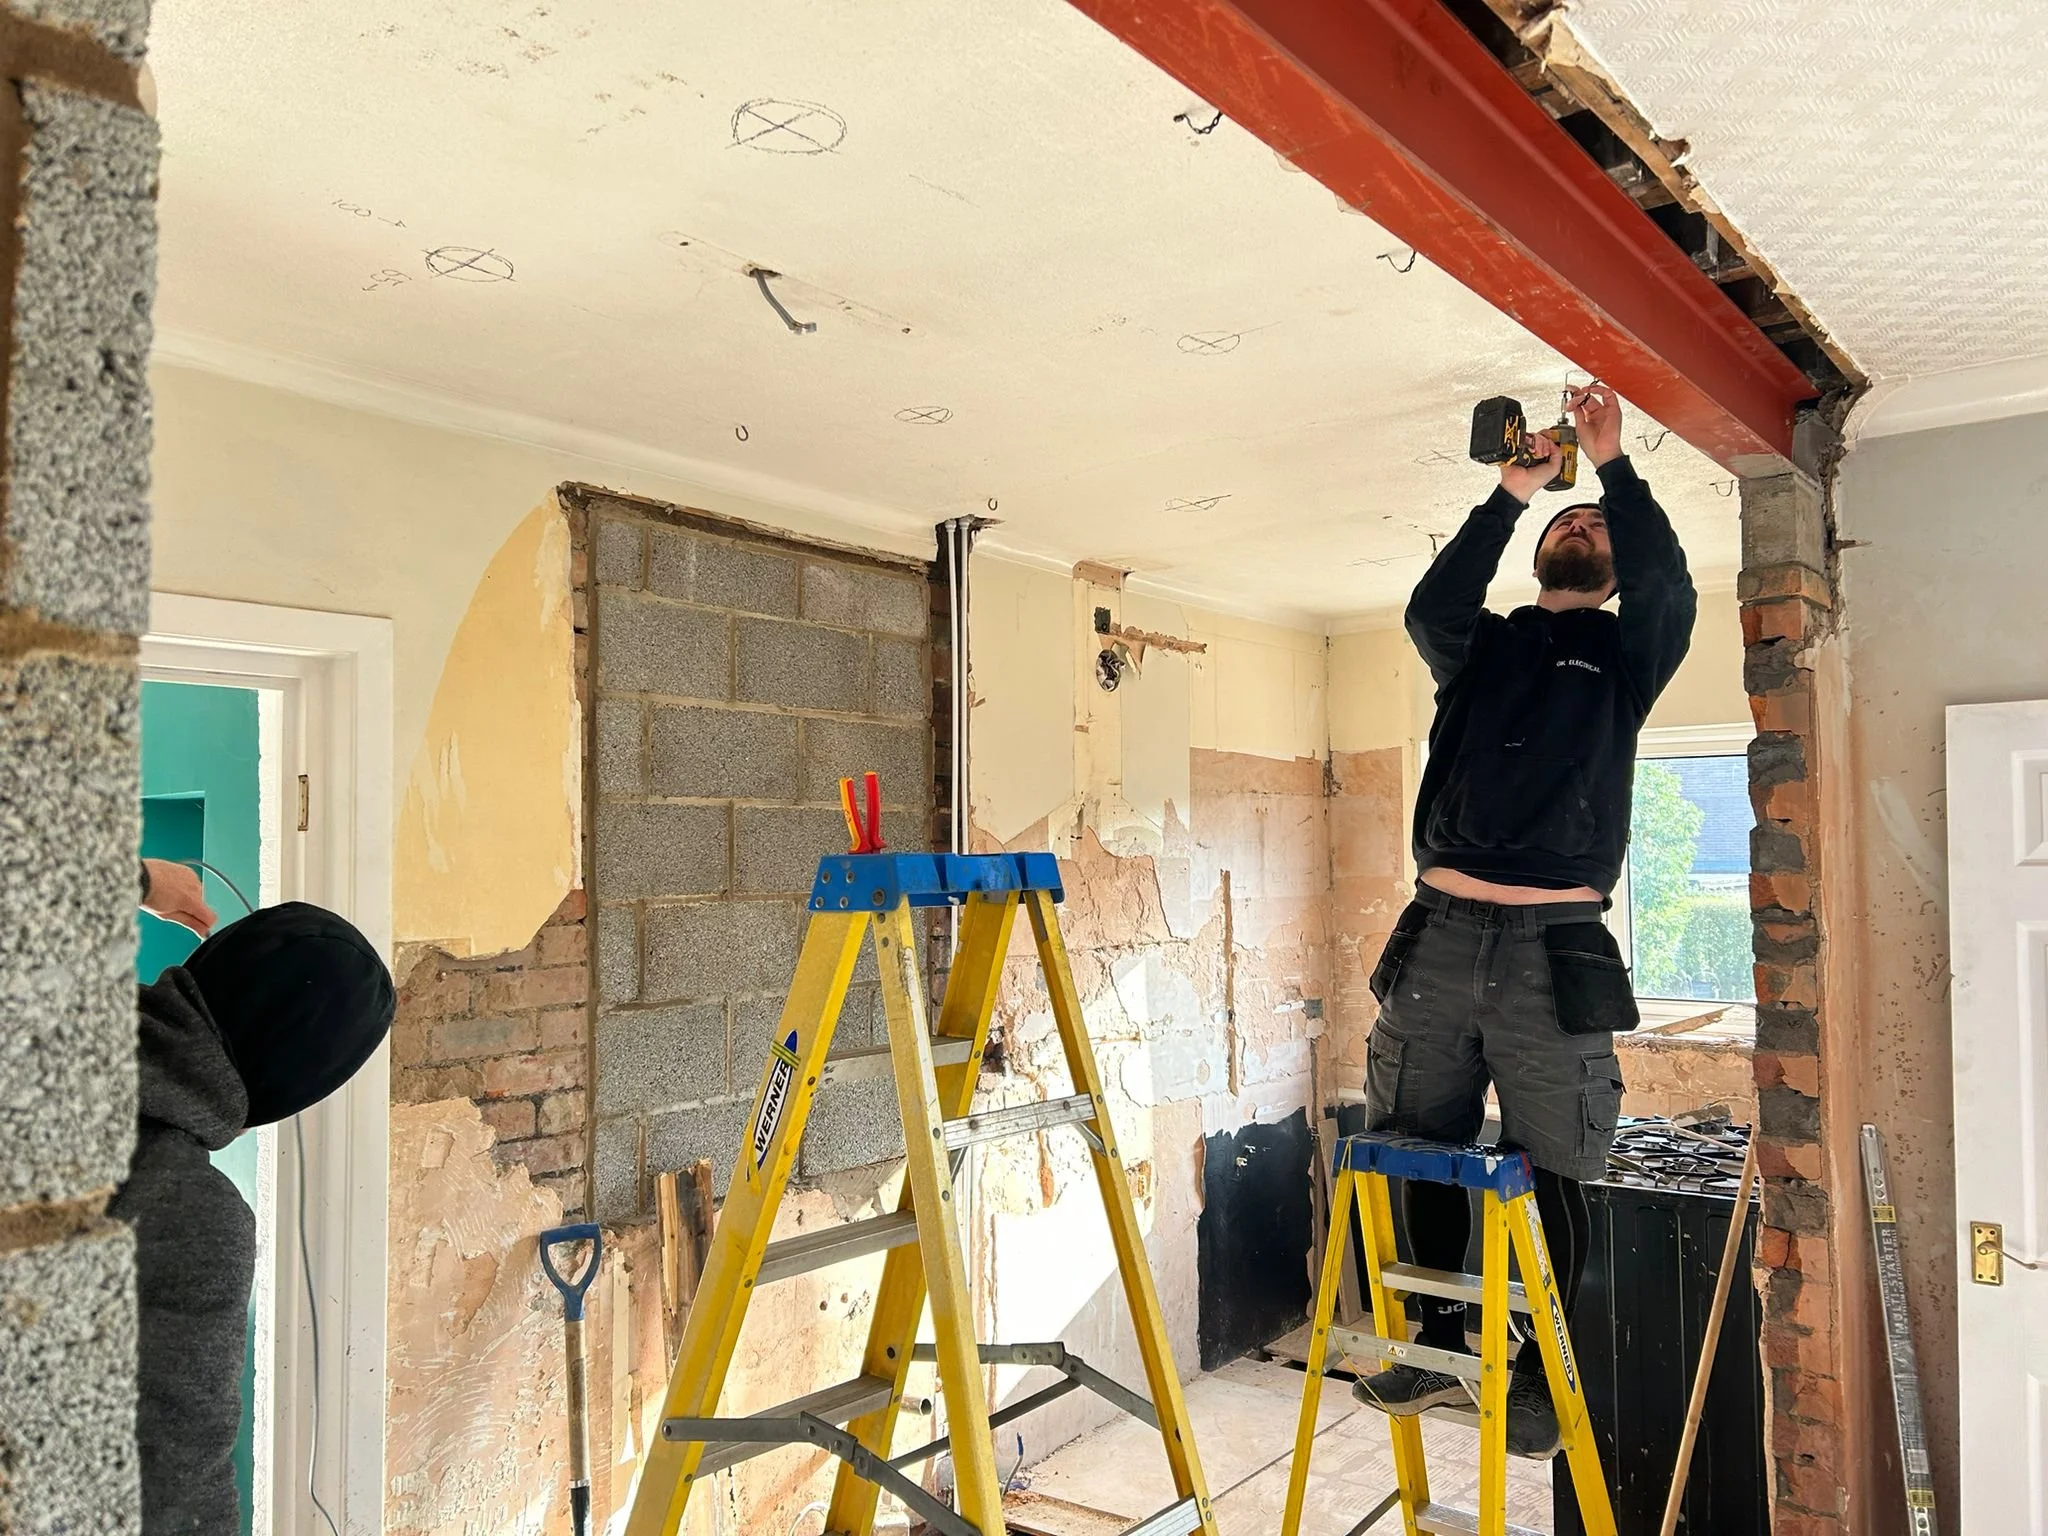
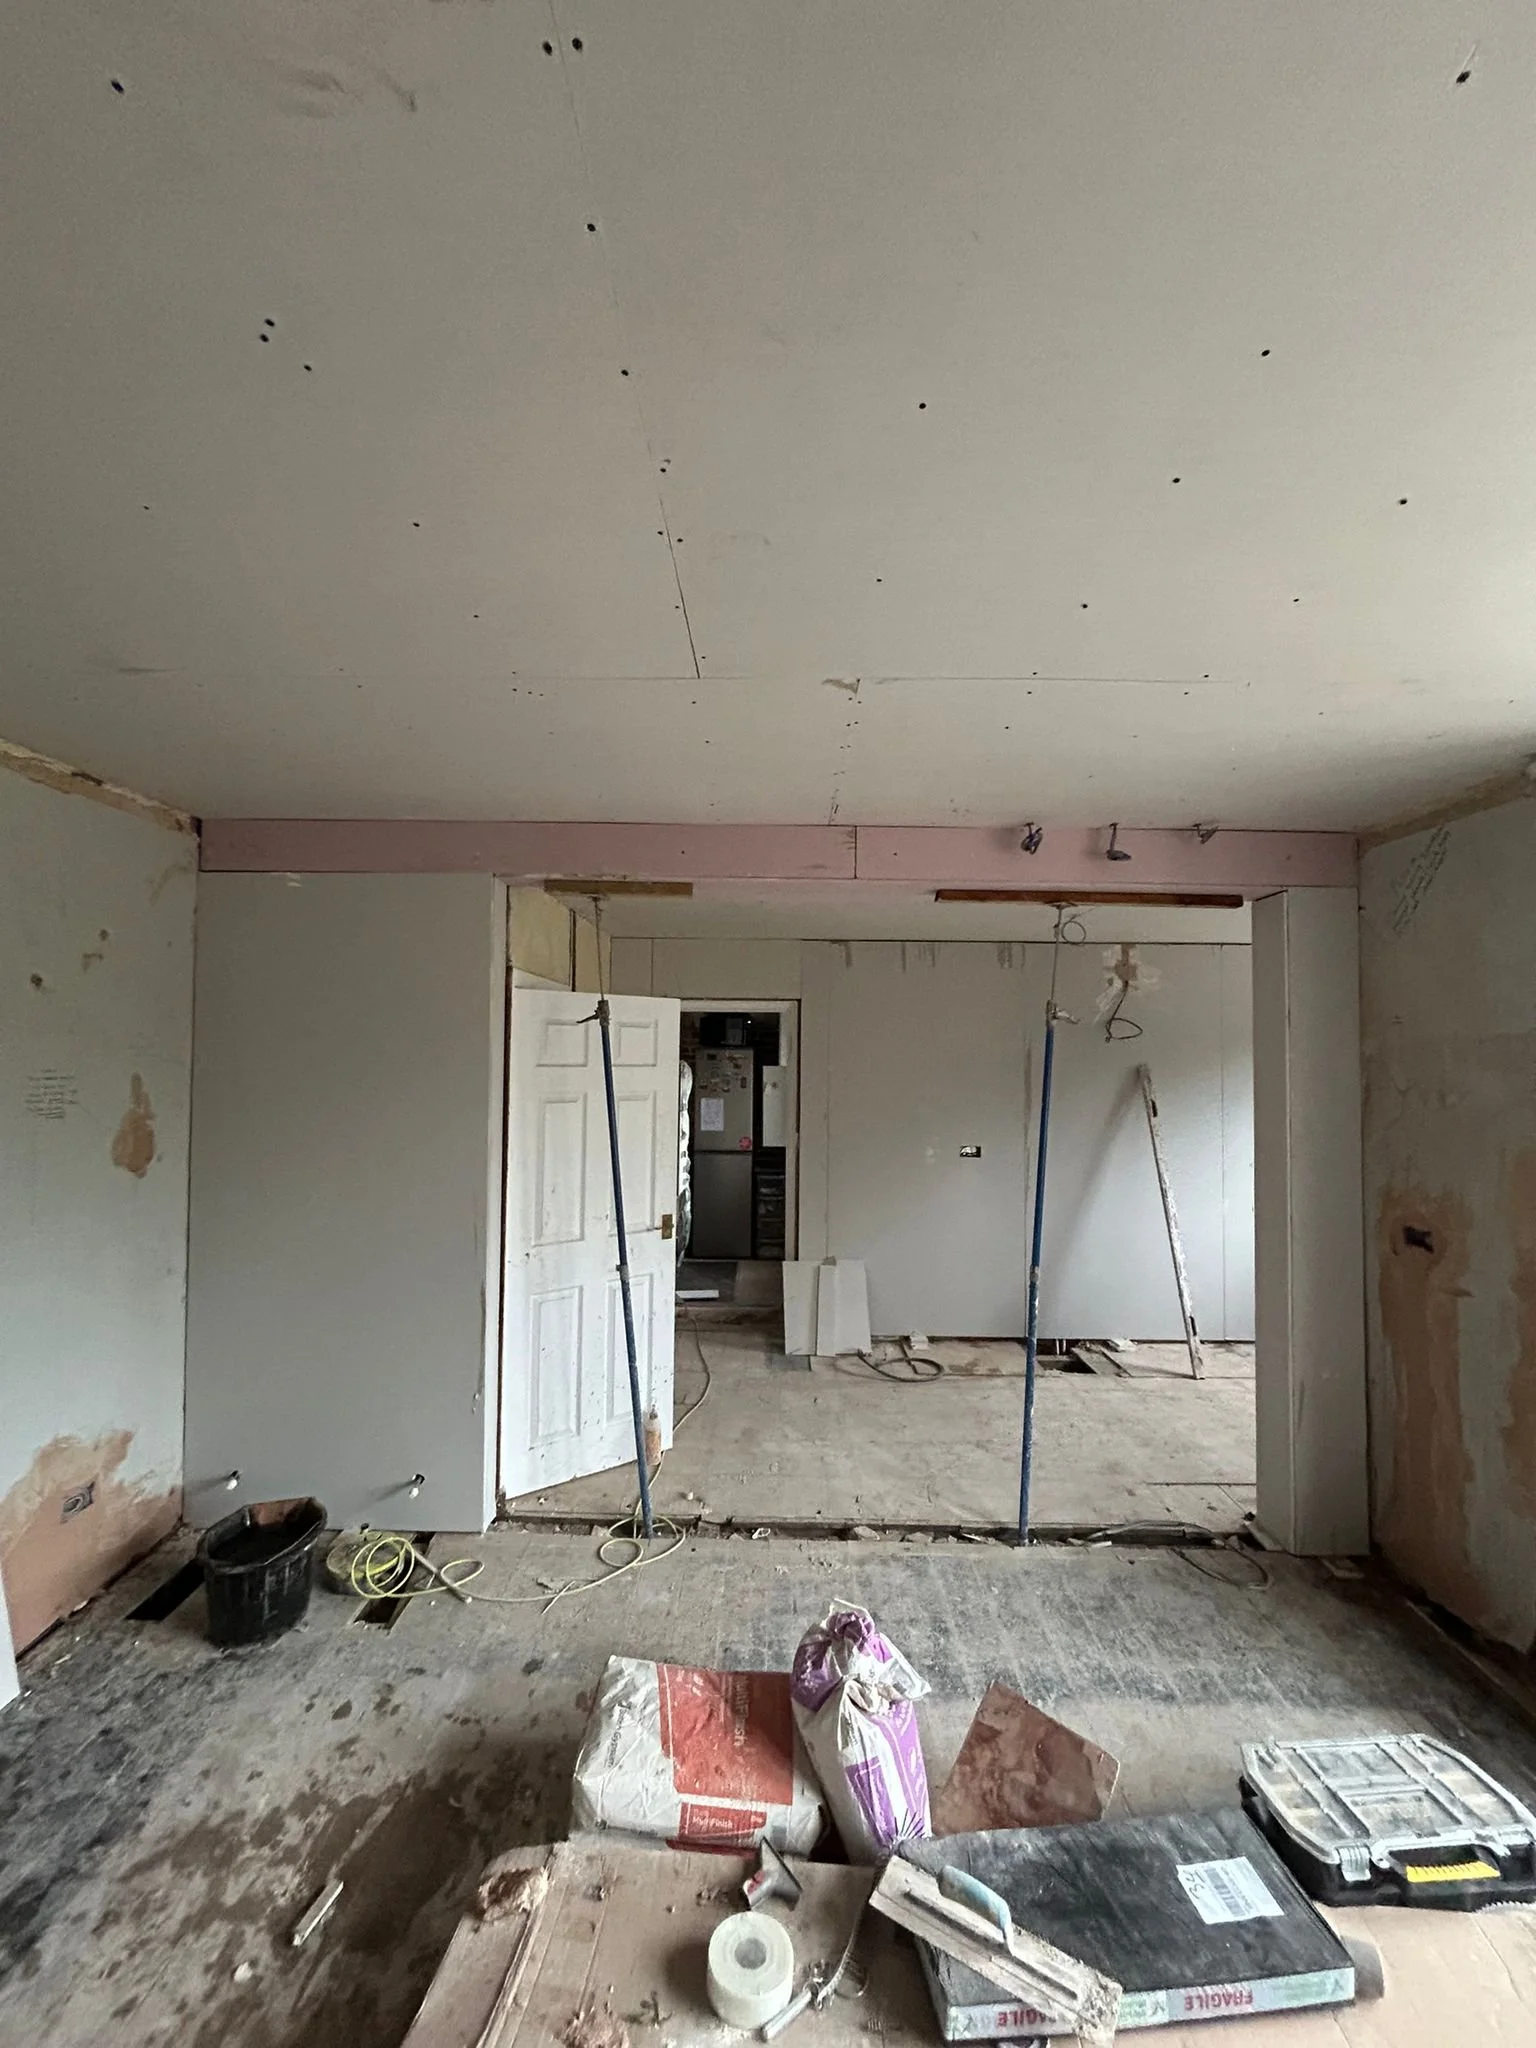
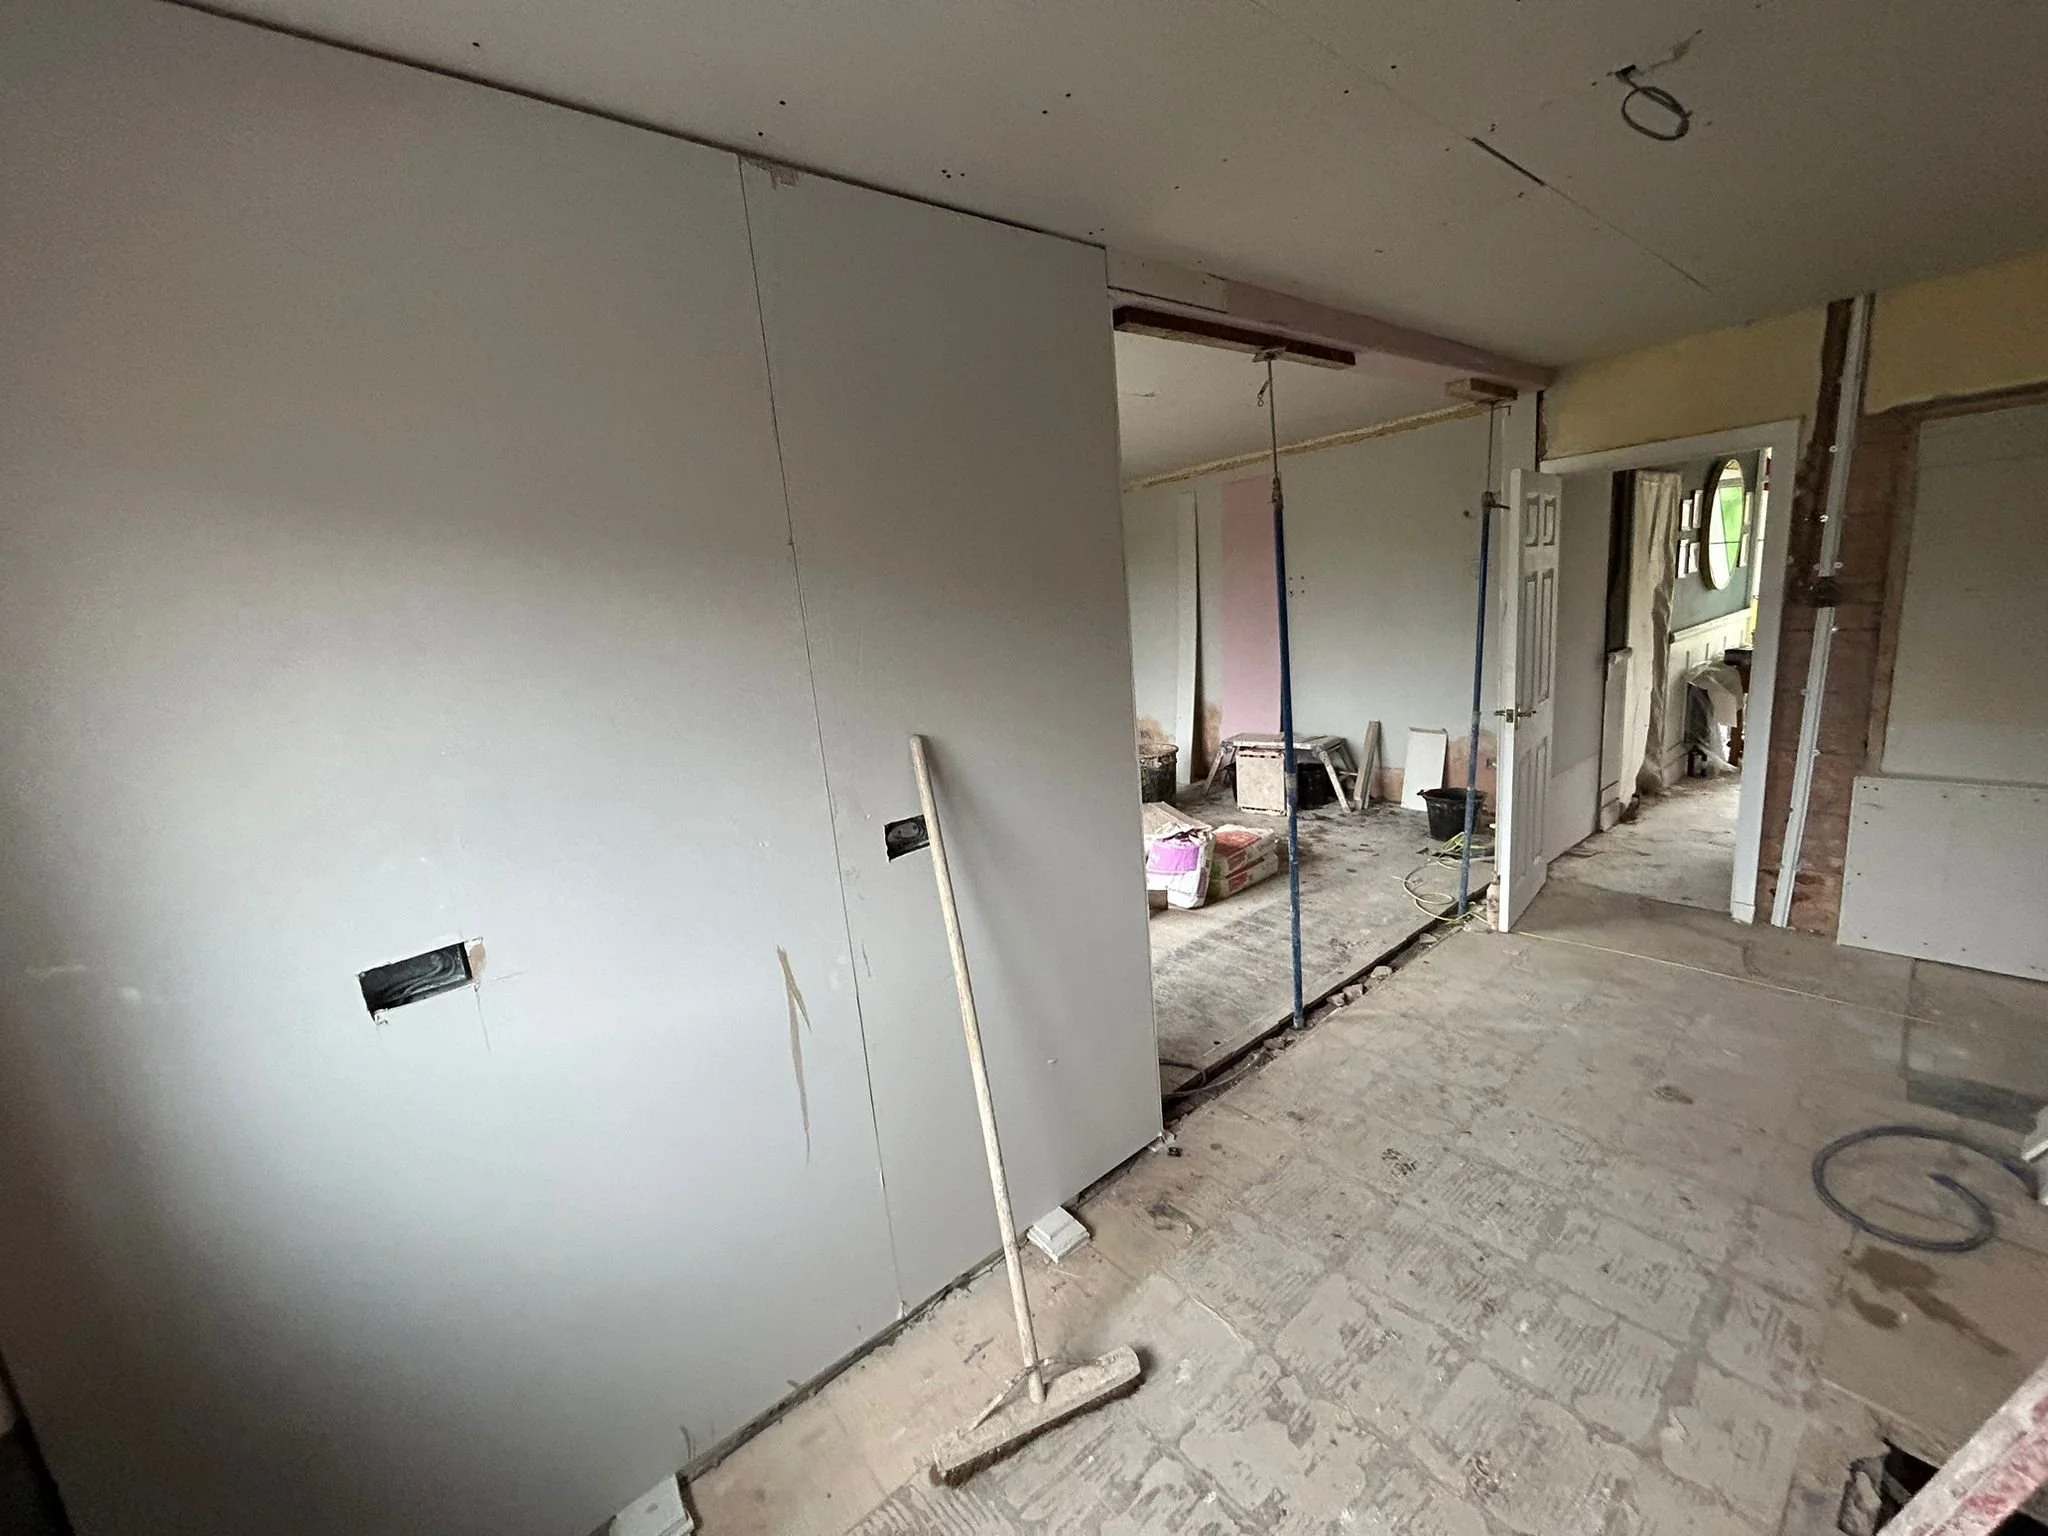
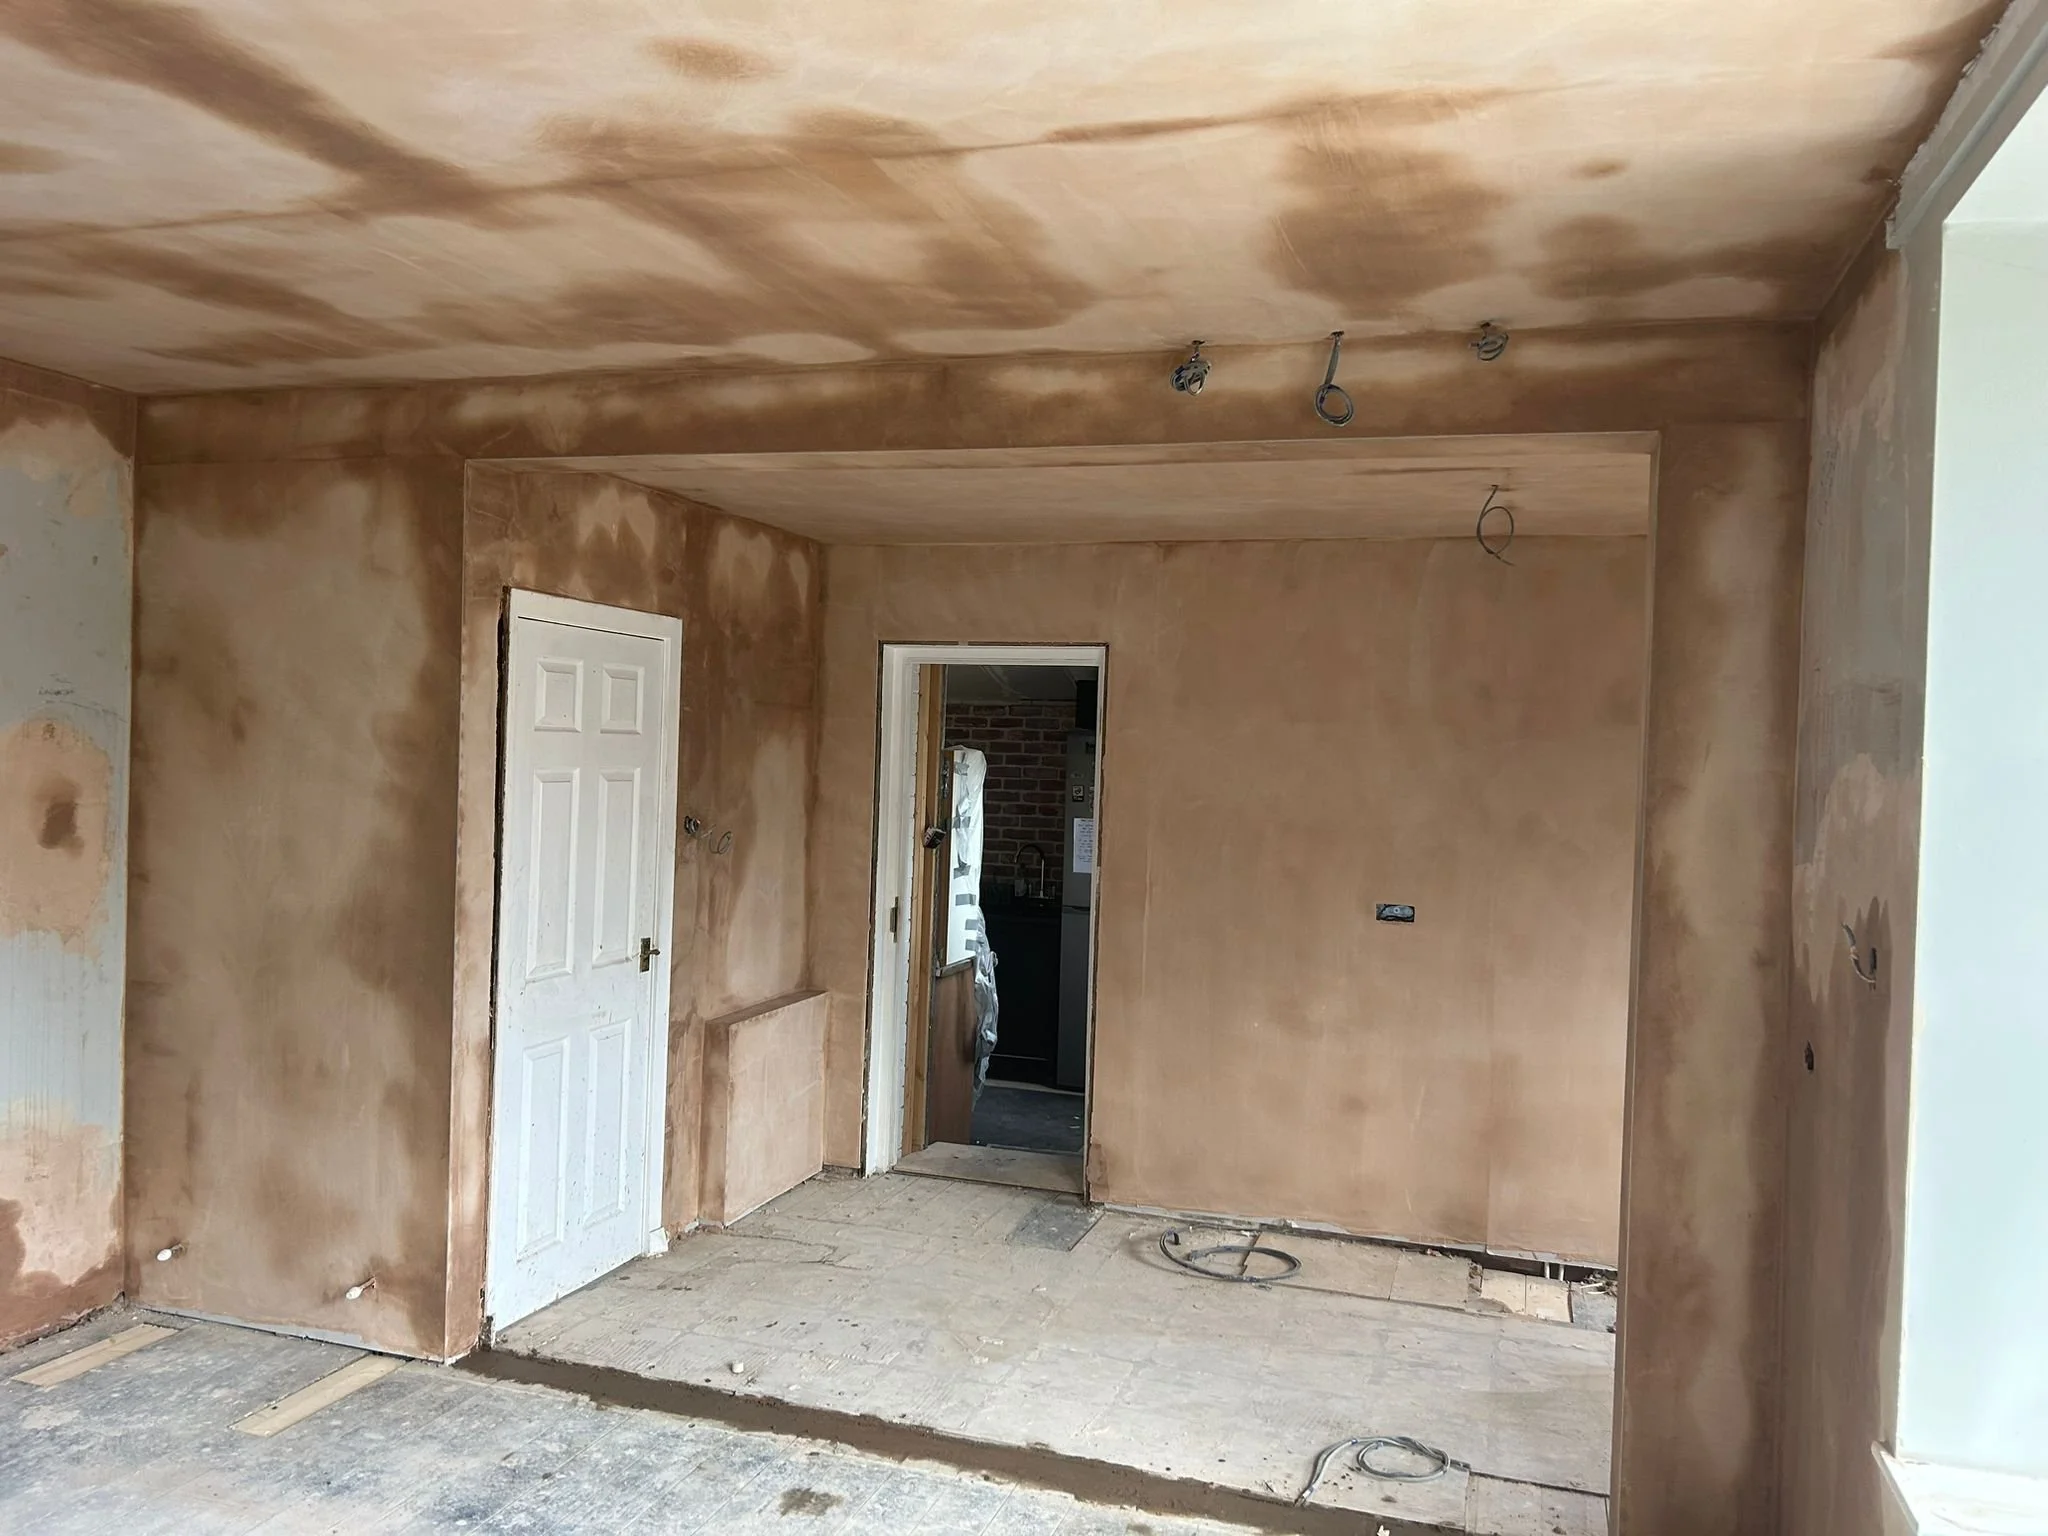
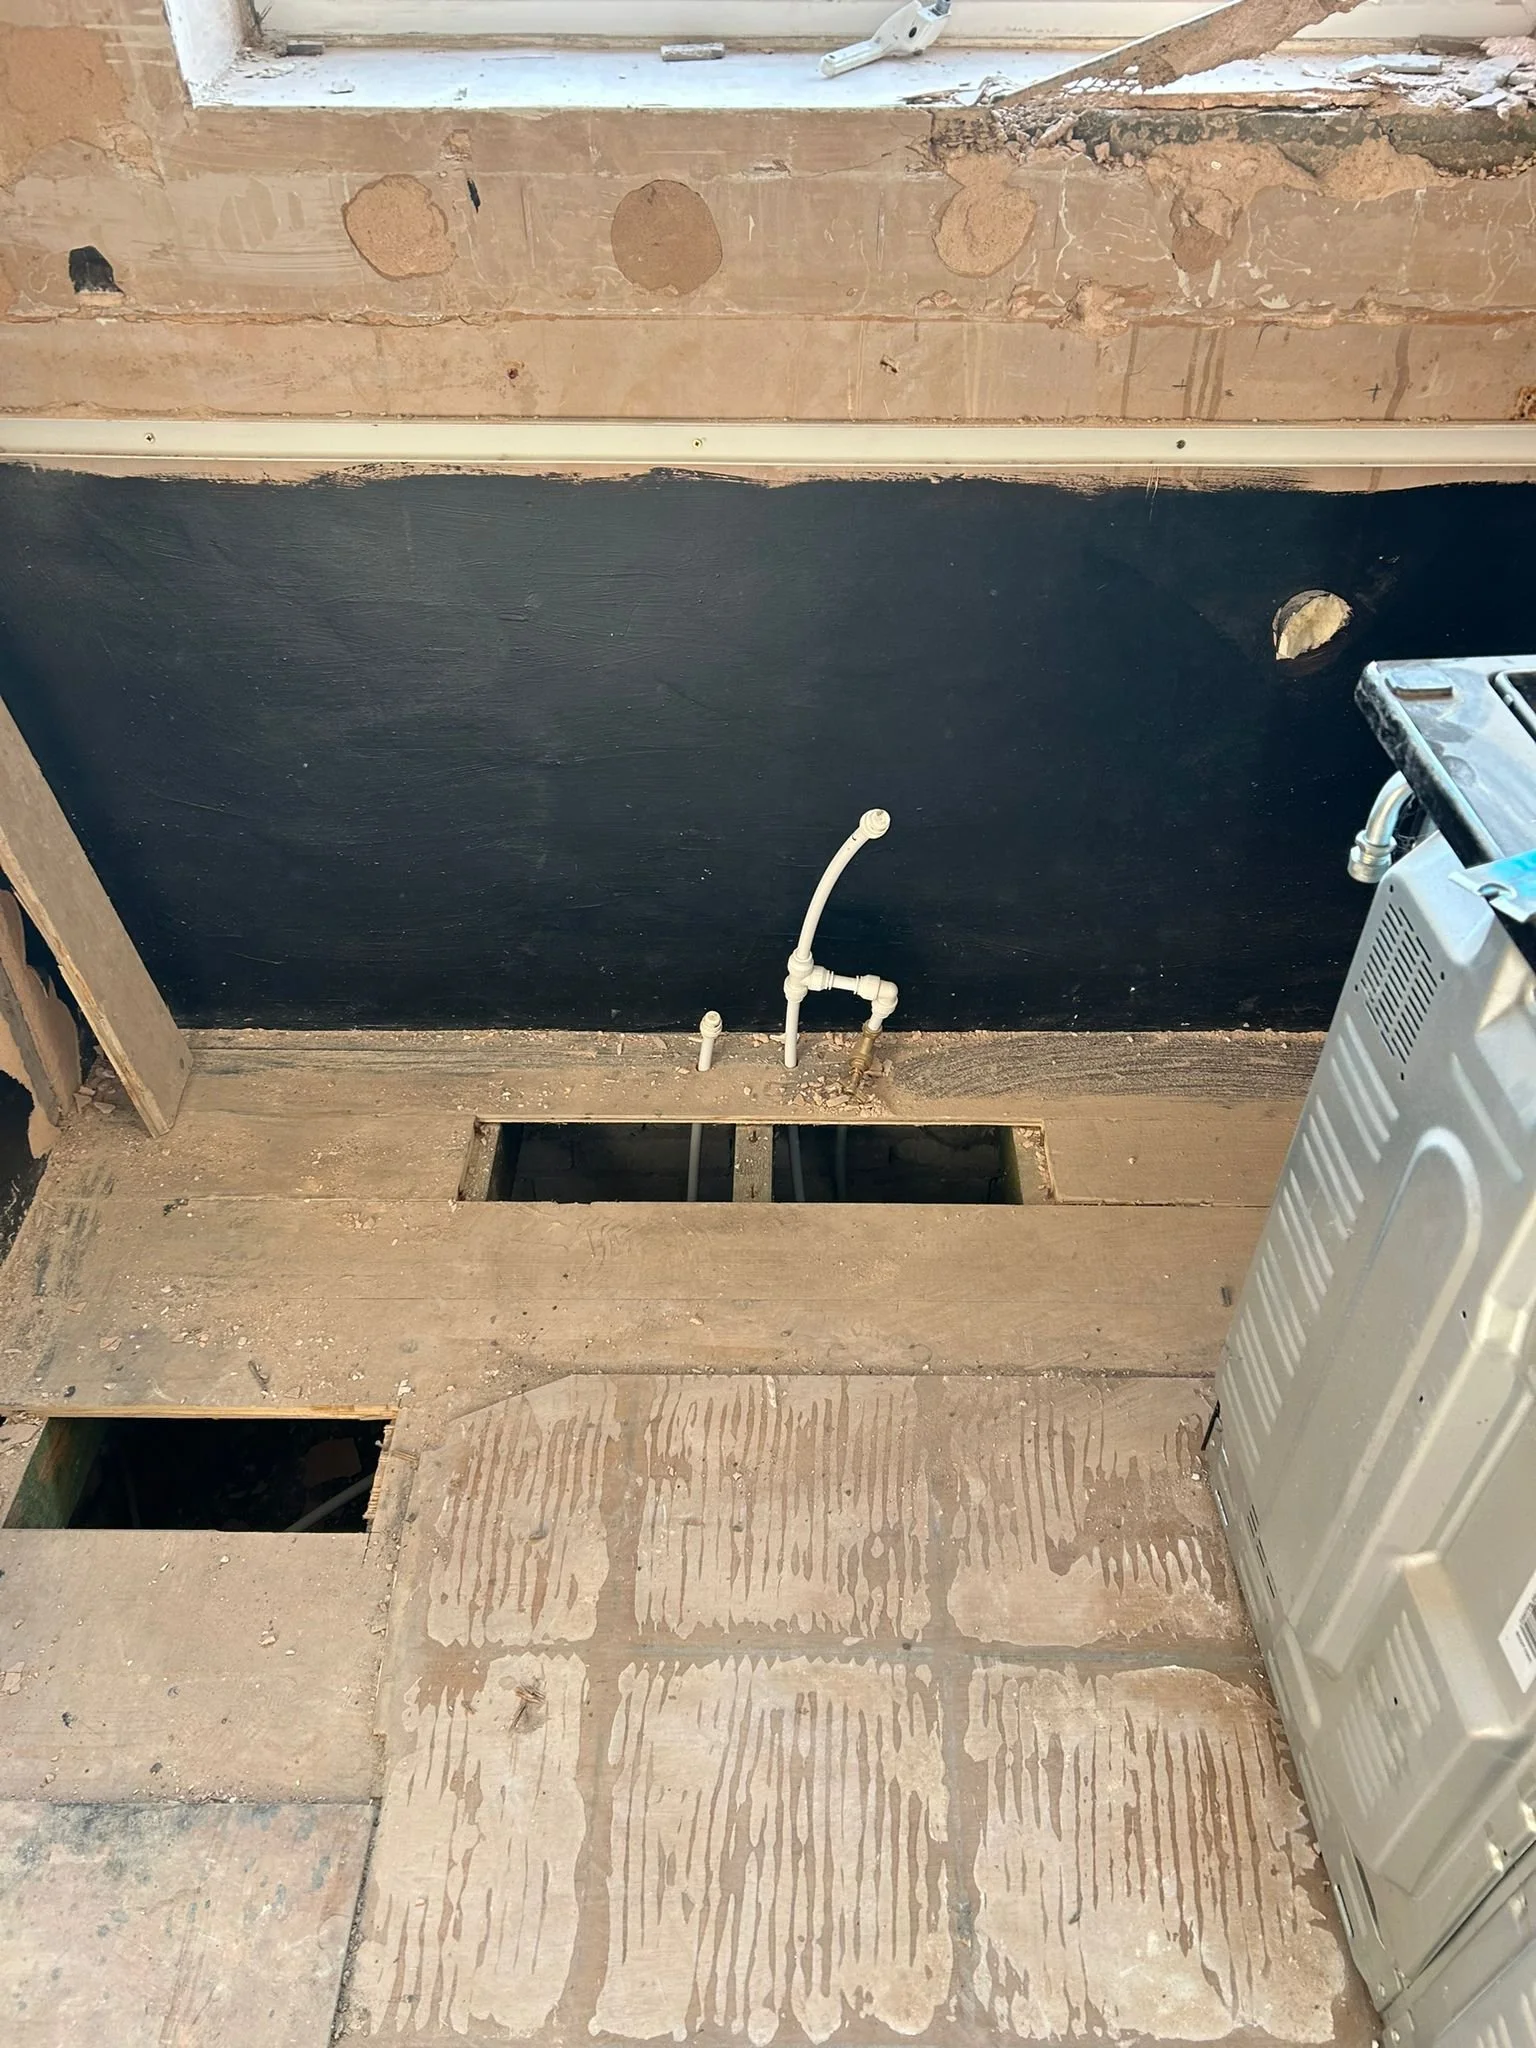
Before we arrived to complete the kitchen installation, there was wider building work that was required as an internal wall was to be removed to open up the space to create a new kitchen/diner. A new steel beam was installed, all the walls were boarded out and skimmed with new plaster, and new electrical points were installed. The plumber also moved the pipe work for the sink re-location and created a new feed for the gas pipe to the new hob.
Week 1 Schedule
Monday: A very busy first day as with all of our projects. Our team arrived on site at 8am and began preparation for the installation to begin. All the kitchen units were delivered along with the sink and tap.
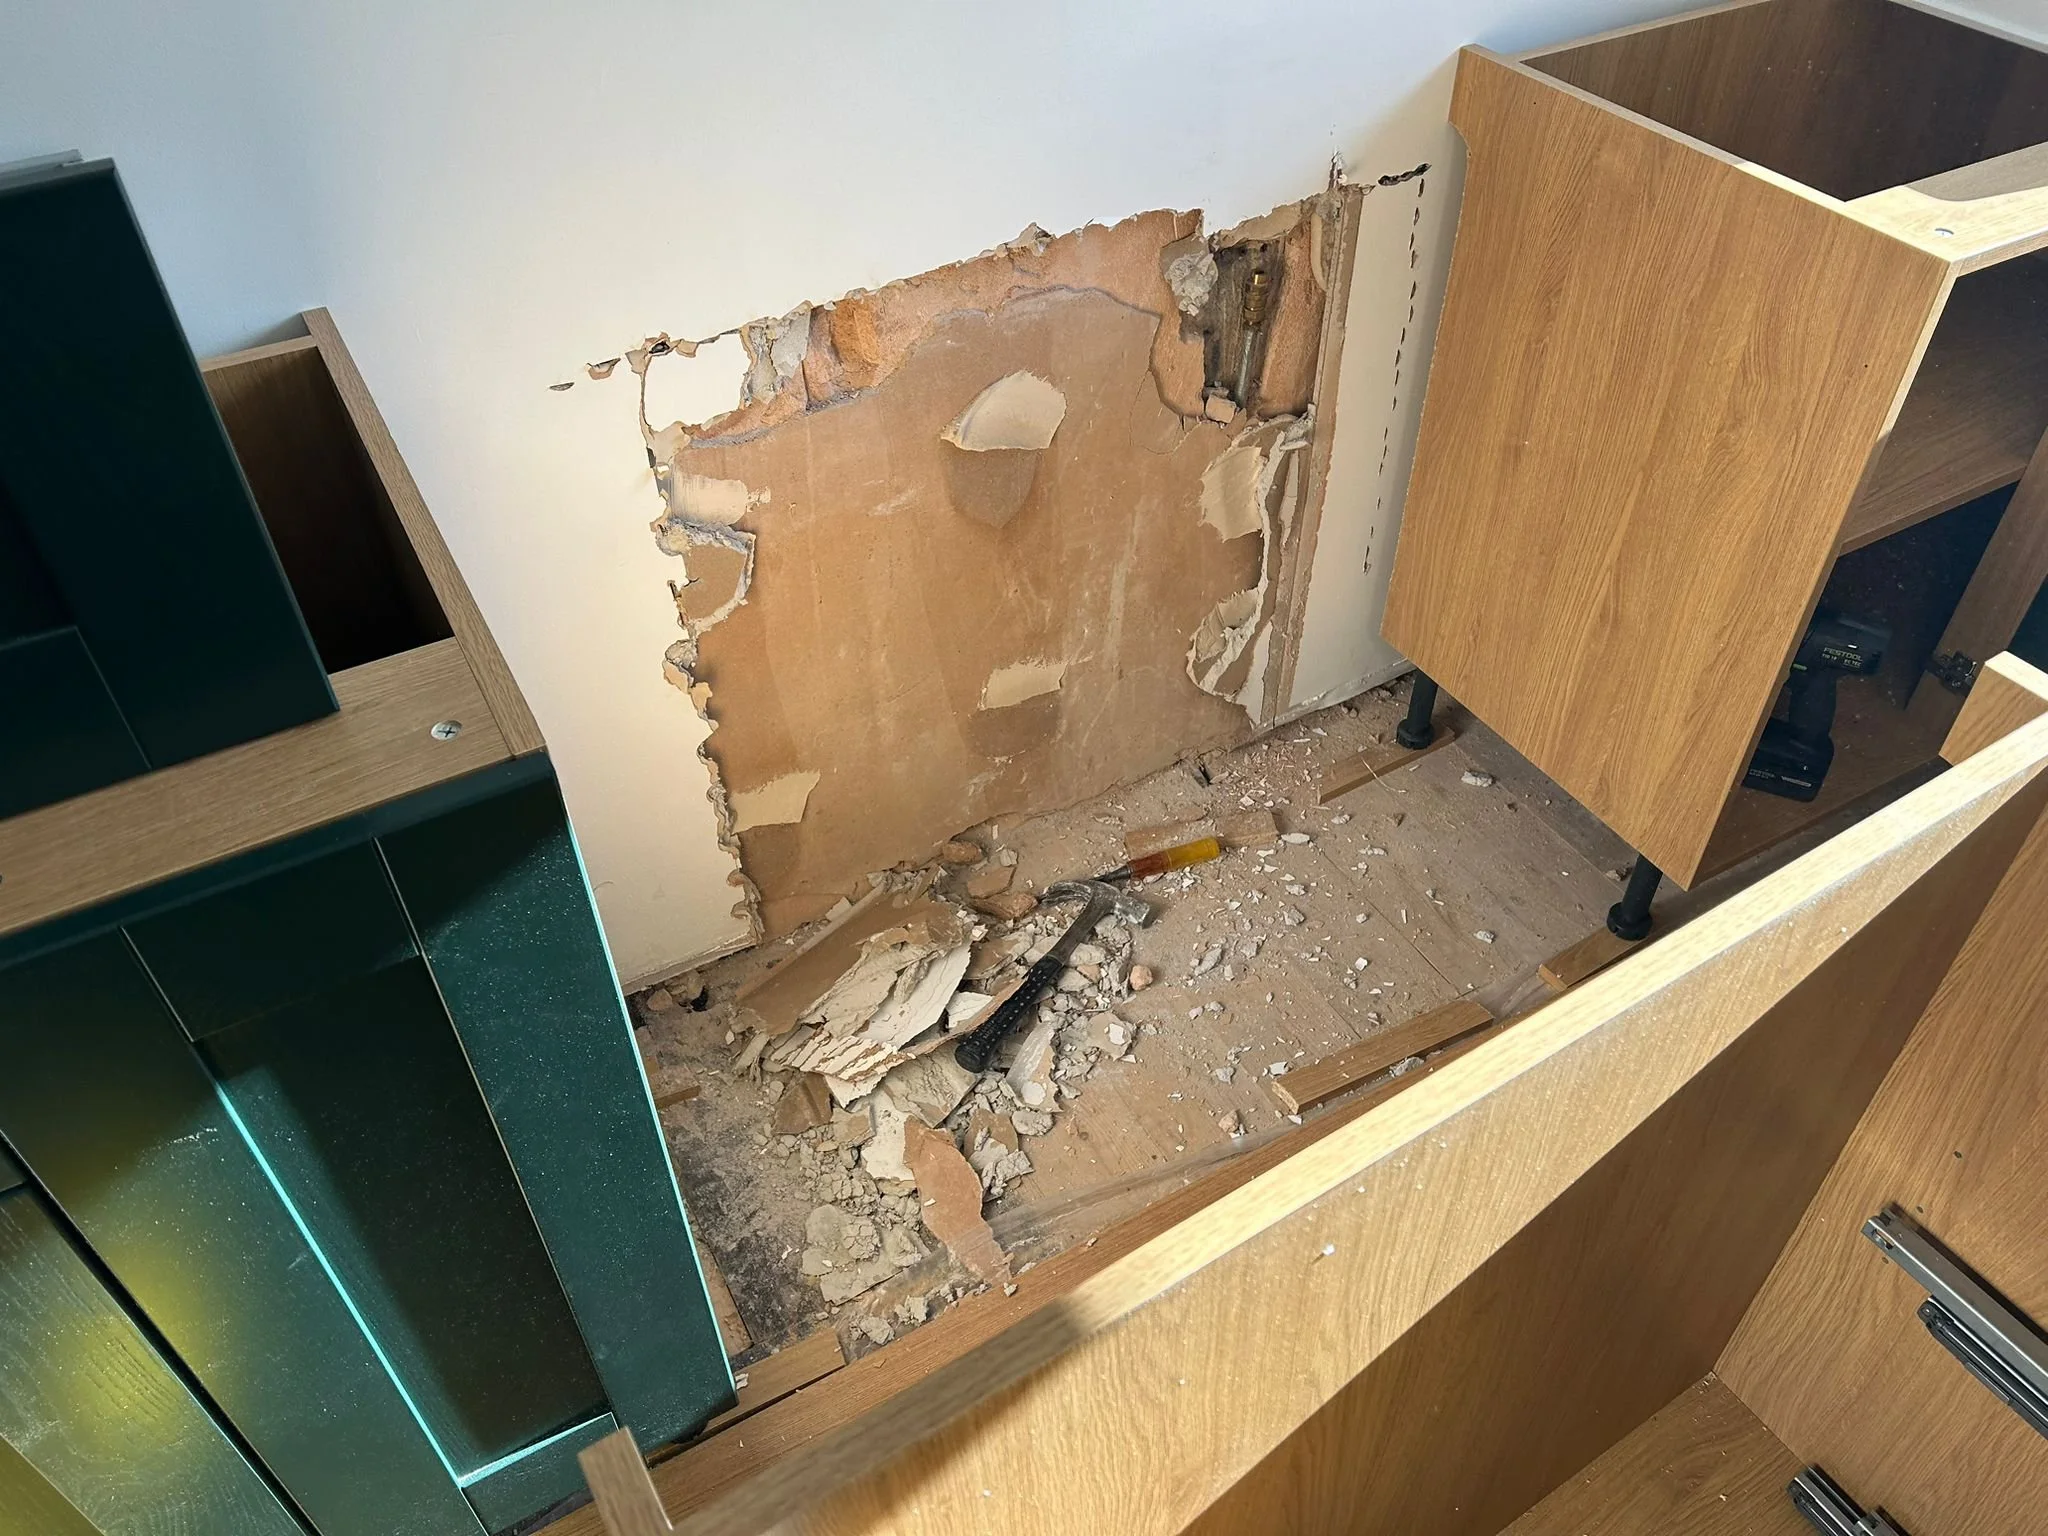
Tuesday: Kitchen units were assembled and started to be put in place. By the end of the day, the majority of base units, along with the appliance housing unit.
Wednesday: All base units were in installed and in place in anticipation of the quartz worktop templating the next day.
Thursday: Quartz worktops were templated today. The sink and hob need to be available so that cut-outs for the quartz worktops to be templated accurately.
Week 2 Schedule
Monday: Our team arrived to continue completing the unit installation such as fixing the doors and handles to the cabinets.
Tuesday: At this point, all of the units and the appliances were in place, ready for the quartz worktops to be installed.
As with all projects that include quartz worktops, there is a delay of around 7-10 days from templating to installation. This is when the quartz is being fabricated in the factory.
Thursday: Quartz worktops arrived and were installed in approximately 2 hours. Once the quartz worktops are installed, no work should be carried out on the kitchen units or sink/hob area to allow the stone glue and silicone time to set for around 24 hours.
Friday: Now that the new worktops were set and in place, the sink, tap and hob were installed and connected. In the afternoon, we completed a final check and sign-off with Mrs Howbrook-Archer, who was very happy with her new kitchen.
Services Provided During This Project
• Full Project Management
• Free Home Survey & Consultation
• Kitchen Design
• Kitchen Supply
• Kitchen Installation
